环境
- jdk10
- win10
- 编辑器:intellij idea
- apache-tomcat-8.5.29
步骤
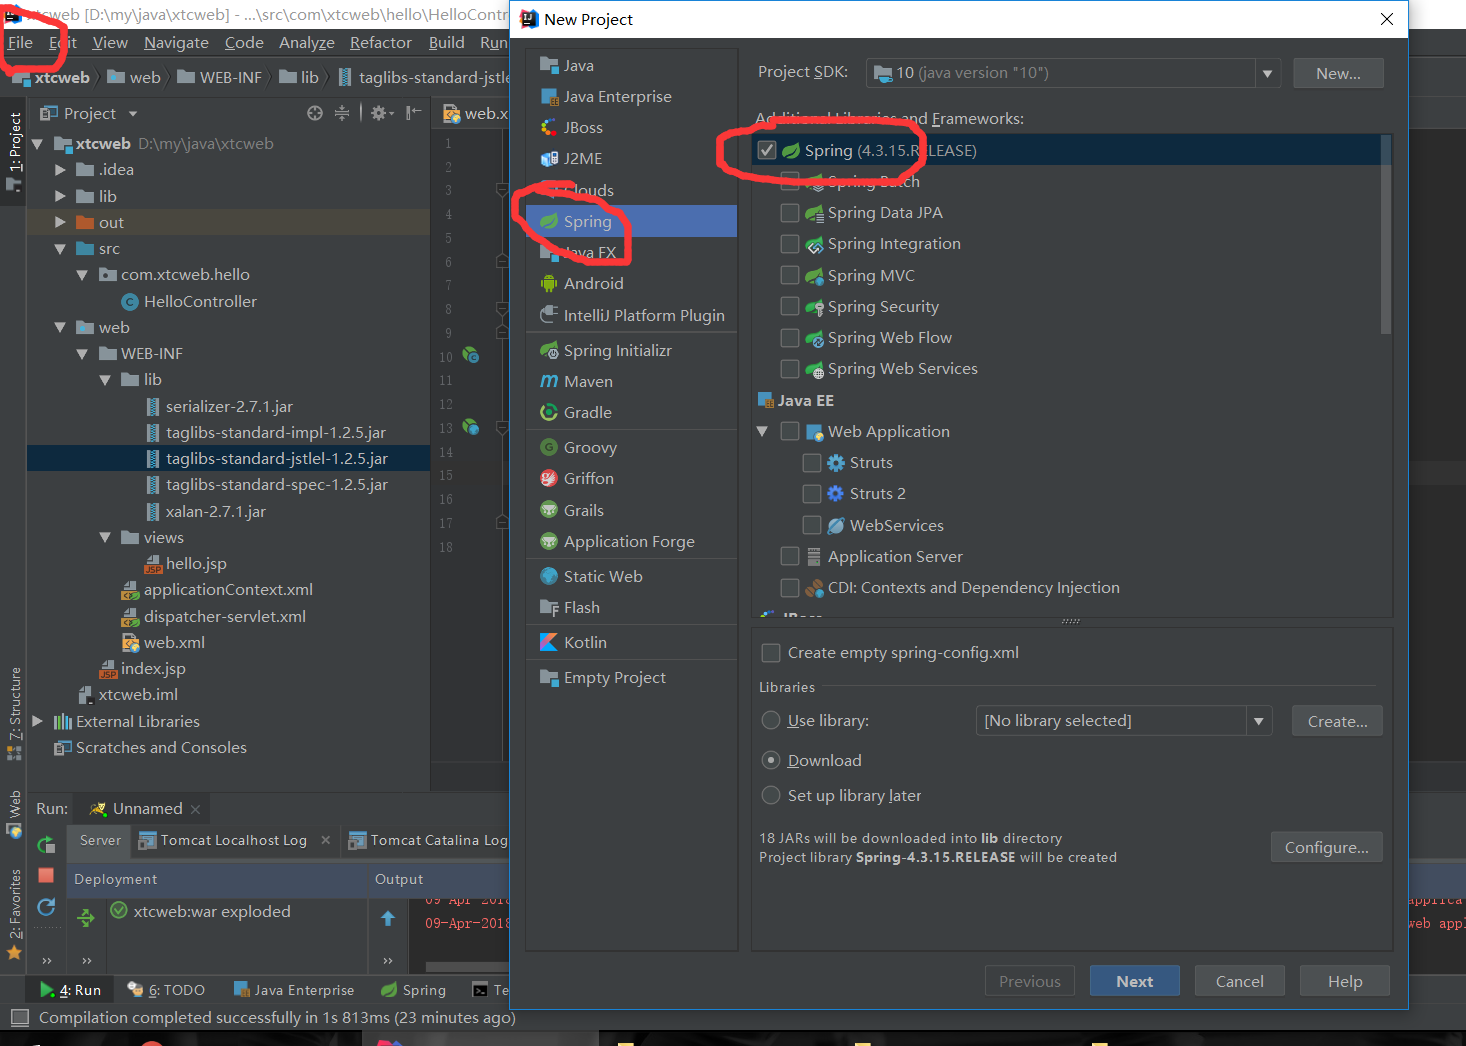
一.创建项目
选择spring项目,以防万一,全选spring库
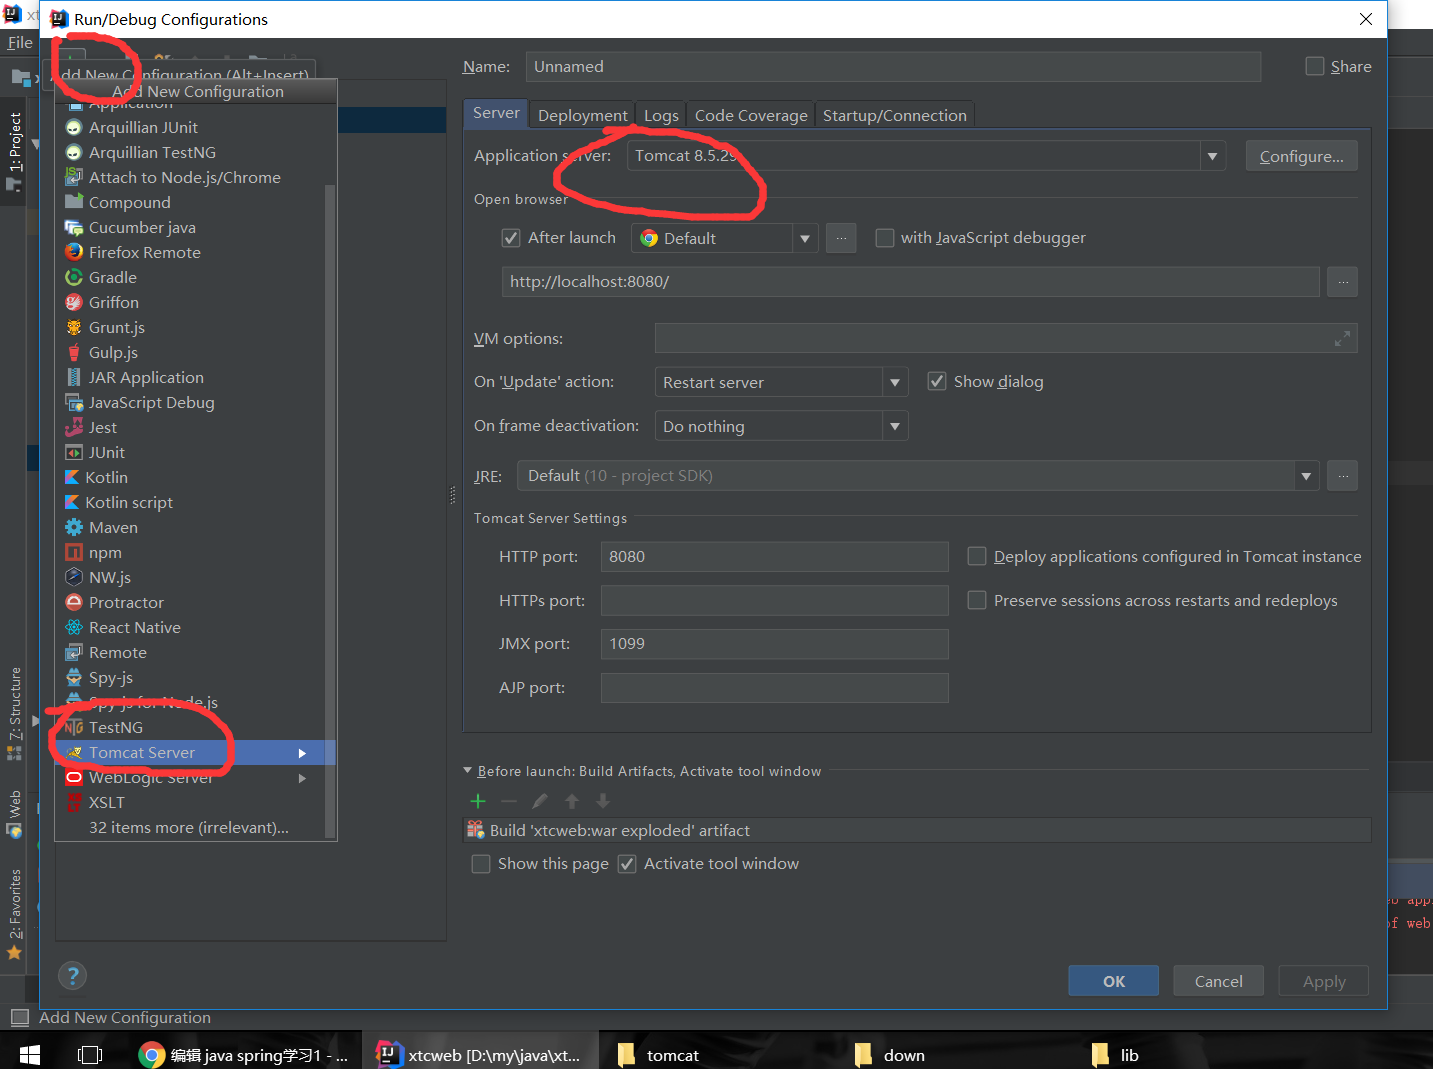
二.配置tomcat
根据自己的操作系统,下载合适的版本 下载链接,然后双击安装
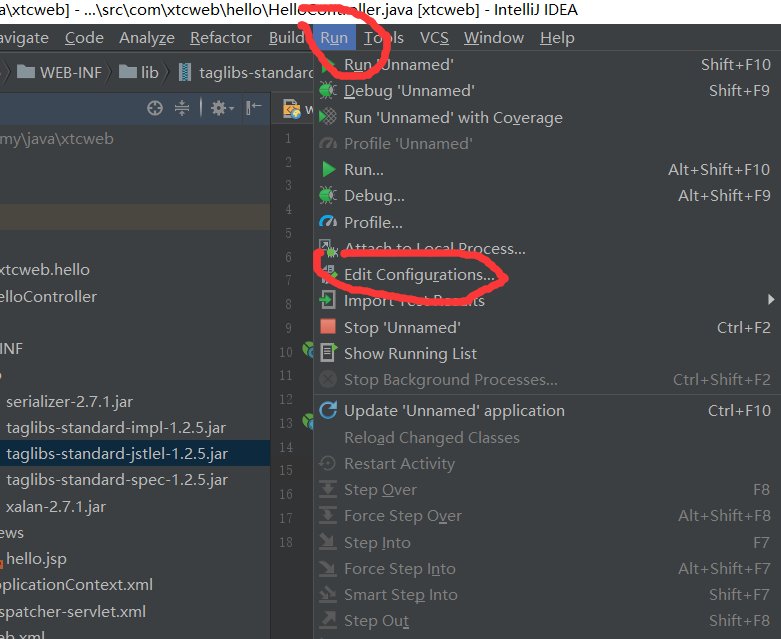
然后配置编辑server,run->edit configurations->tomcat->local,按如下图填写

三.helloworld示例代码
在src下新建包,包名:com.xtcweb.hello,其中xtcweb是我建项目时候填写的名字
新建文件HelloController.java
代码如下
package com.xtcweb.hello;

import org.springframework.stereotype.Controller;
import org.springframework.ui.ModelMap;
import org.springframework.web.bind.annotation.RequestMapping;
import org.springframework.web.bind.annotation.RequestMethod;

@Controller
@RequestMapping(value = "/hello", method = RequestMethod.GET)
public class HelloController {

    @RequestMapping(value = "/hello", method = RequestMethod.GET)
    public String printHello(ModelMap model) {
        model.addAttribute("msg", "Spring MVC Hello World");
        model.addAttribute("name", "帅哥");
        return "hello";
    }
}
在web/WEB-INFO目录下新建views目录,新增文件 hello.jsp
代码如下:
<%--
  Created by IntelliJ IDEA.
  User: ThinkPad
  Date: 2018/4/5
  Time: 0:47
  To change this template use File | Settings | File Templates.
--%>
<%@ page contentType="text/html;charset=UTF-8" language="java" %>
<html>
<head>
    <title>${msg}</title>
</head>
<body>
<h1>${msg}</h1>
<span>${name}</span>
</body>
</html>
分别配置
web.xml
<?xml version="1.0" encoding="UTF-8"?>
<web-app xmlns="http://xmlns.jcp.org/xml/ns/javaee"
         xmlns:xsi="http://www.w3.org/2001/XMLSchema-instance"
         xsi:schemaLocation="http://xmlns.jcp.org/xml/ns/javaee http://xmlns.jcp.org/xml/ns/javaee/web-app_4_0.xsd"
         version="4.0">
    <context-param>
        <param-name>contextConfigLocation</param-name>
        <param-value>/WEB-INF/applicationContext.xml</param-value>
    </context-param>
    <listener>
        <listener-class>org.springframework.web.context.ContextLoaderListener</listener-class>
    </listener>
    <servlet>
        <servlet-name>dispatcher</servlet-name>
        <servlet-class>org.springframework.web.servlet.DispatcherServlet</servlet-class>
        <load-on-startup>1</load-on-startup>
    </servlet>
    <servlet-mapping>
        <servlet-name>dispatcher</servlet-name>
        <url-pattern>/</url-pattern>
    </servlet-mapping>
</web-app>
dispatcher-servlet.xml
<?xml version="1.0" encoding="UTF-8"?>
<beans xmlns="http://www.springframework.org/schema/beans"
       xmlns:xsi="http://www.w3.org/2001/XMLSchema-instance"
       xmlns:context="http://www.springframework.org/schema/context"
       xmlns:mvc="http://www.springframework.org/schema/mvc"
       xsi:schemaLocation="http://www.springframework.org/schema/beans http://www.springframework.org/schema/beans/spring-beans.xsd http://www.springframework.org/schema/context http://www.springframework.org/schema/context/spring-context.xsd http://www.springframework.org/schema/mvc http://www.springframework.org/schema/mvc/spring-mvc.xsd">

    <context:component-scan base-package="com.xtcweb.hello"/>

    <!--ViewResolver 视图解析器-->
    <!--用于支持Servlet、JSP视图解析-->
    <bean id="jspViewResolver" class="org.springframework.web.servlet.view.InternalResourceViewResolver">
        <property name="viewClass" value="org.springframework.web.servlet.view.JstlView"/>
        <property name="prefix" value="/WEB-INF/views/"/>
        <property name="suffix" value=".jsp"/>
    </bean>

    <!-- 静态资源(js、image等)的访问 -->
    <mvc:default-servlet-handler/>

    <!-- 开启注解 -->
    <mvc:annotation-driven/>
</beans>
applicationContext.xml
<?xml version="1.0" encoding="UTF-8"?>
<beans xmlns="http://www.springframework.org/schema/beans"
       xmlns:xsi="http://www.w3.org/2001/XMLSchema-instance"
       xsi:schemaLocation="http://www.springframework.org/schema/beans http://www.springframework.org/schema/beans/spring-beans.xsd">

</beans>
四.jstlel下载 网盘下载
下载后解压,到web/WEB-INFO目录下新建lib目录,把解压后的jar文件拷贝进去,否则会报错jstlel找不到
五.配置运行项目
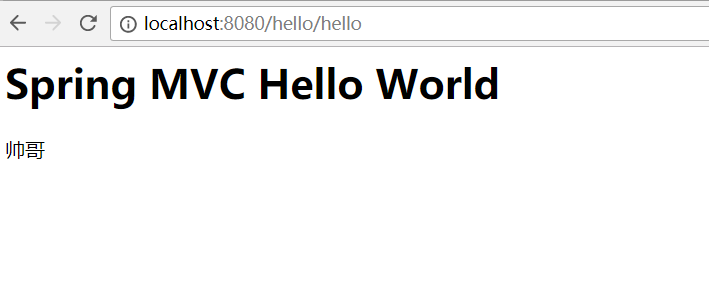
运行项目,浏览器打开:http://localhost:8080/hello/hello
成功!!
六.遇到的问题
1.jdk安装网上教程太乱,jdk10参照上一篇教程: [jdk10安装][8]
2.tomcat一直运行不起,检查xml文件,编辑器所有的右上角都打绿色勾,检测配置里面的路径和包名是否正确
3.检查controller里面用到的包是否引入,很多教程之贴了控制器代码,没有把顶部的包引用代码贴出来。